Add login and logout to your app
2 min
WSO2 Identity Platform SDK provides SignInButton, SignOutButton components to handle user sign-in and sign-out. You can use these components along side SignedIn and SignedOut components to conditionally render content based on the user's logged in state.
Replace the existing content of the app/page.tsx file with following content.
import {SignInButton, SignedIn, SignOutButton, SignedOut} from '@asgardeo/nextjs';

export default function Home() {
  return (
    <div className="flex flex-col items-center justify-center min-h-screen text-center gap-6">
      <header className="flex flex-col items-center gap-2">
        <SignedOut>
          <SignInButton />
        </SignedOut>
        <SignedIn>
          <SignOutButton />
        </SignedIn>
      </header>
    </div>

  );
}
This code snippet adds a login button in the application that triggers the signIn function from @asgardeo/nextjs when the user clicks the "Sign in" button. The button uses an asynchronous action to securely initiate the login process with WSO2 Identity Platform. When the user clicks the button, the app redirects them to the WSO2 Identity Platform login page, and once logged in, they are returned to the app with their session established.
Save the changes and re-run the application in development mode if it is not running already.
Once the application is started, you will see the homepage of the application with the changes we made.
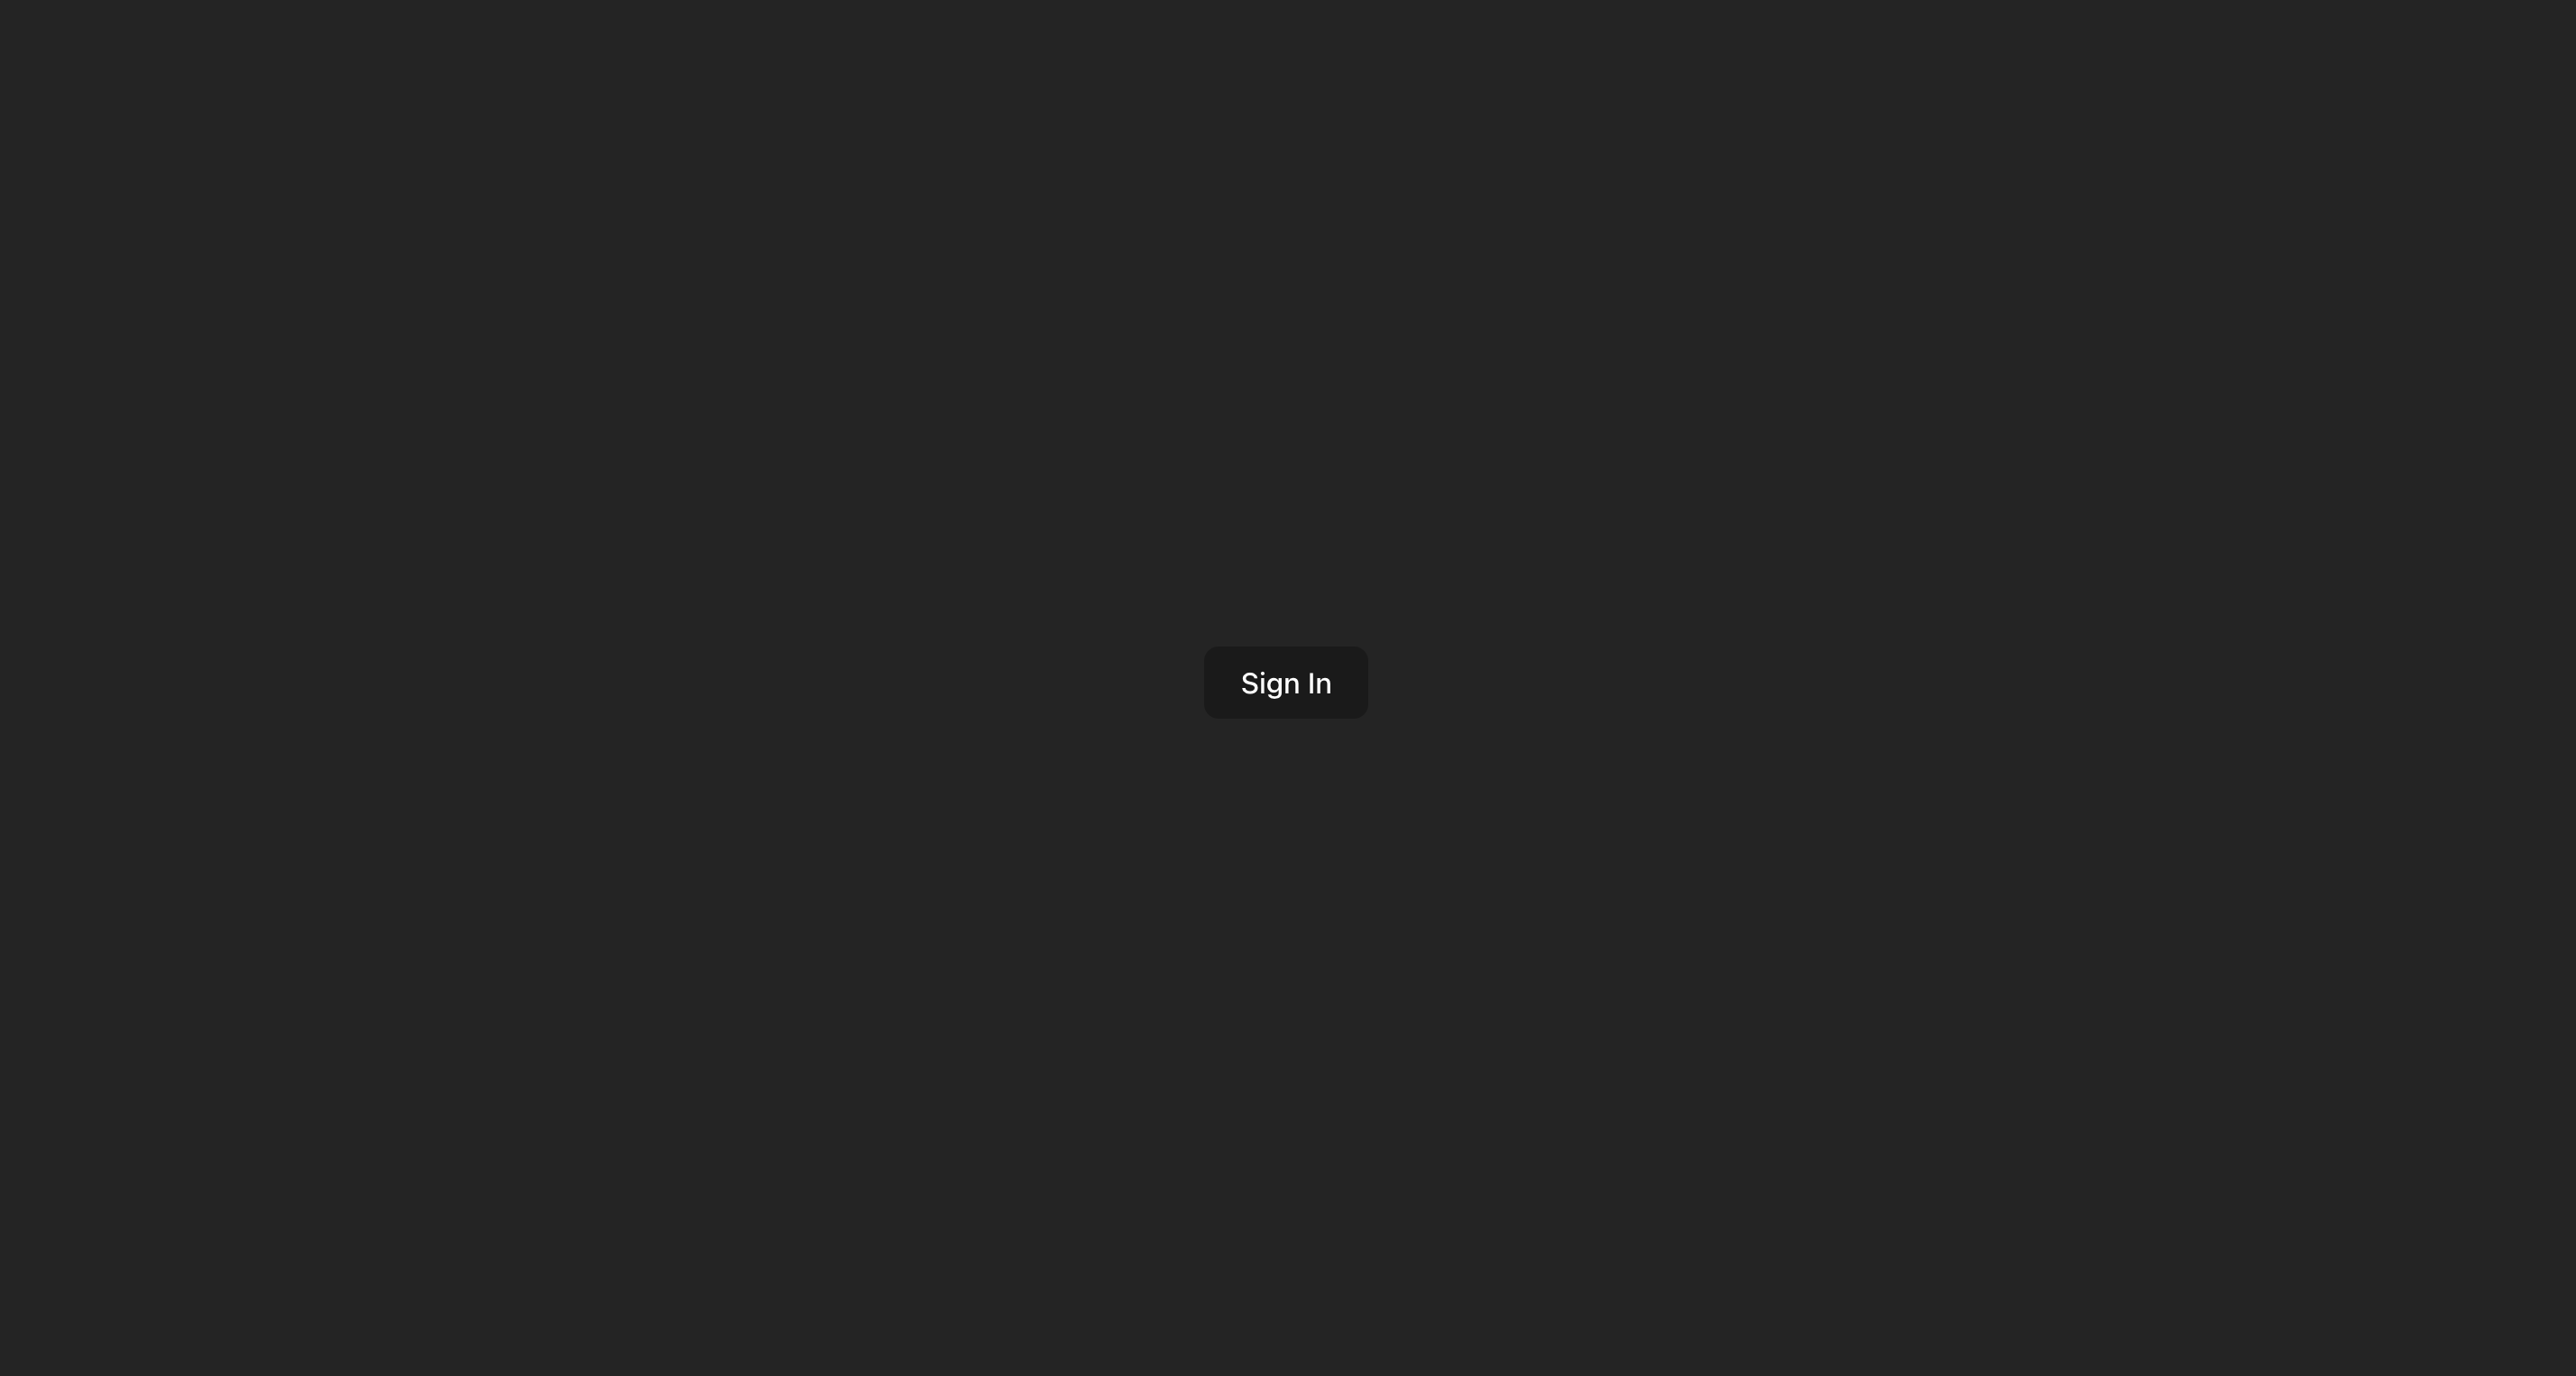
Initiate Sign In
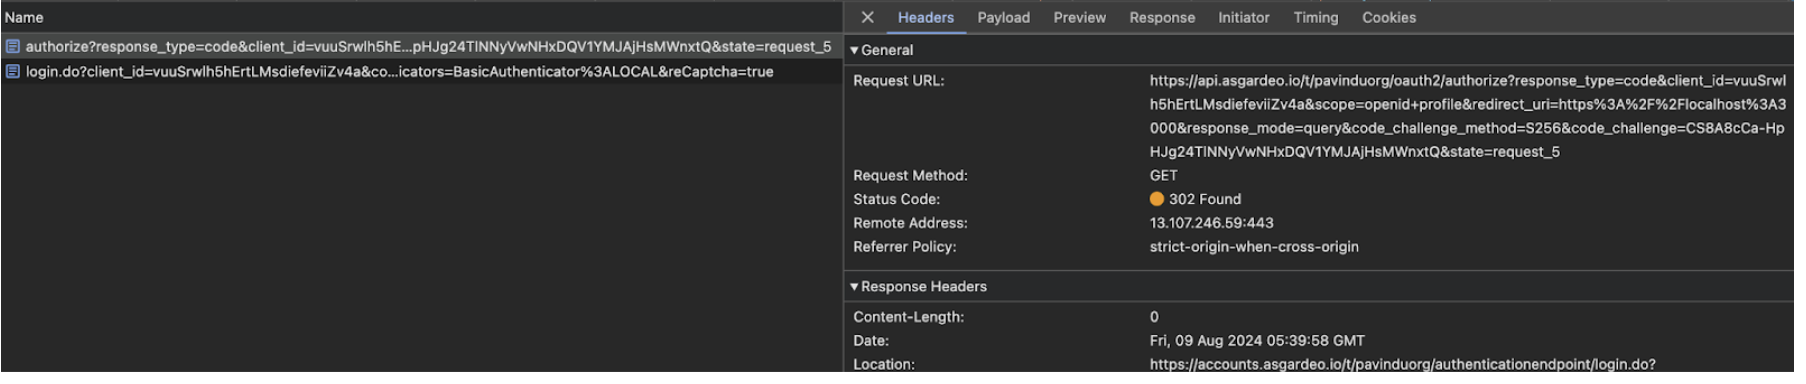
Clicking on the login button will initiate an OIDC request. You will be able to observe the authorize request in the browser devtools as follows. To see this, right click on the application and click inspect and switch to the network tab. In the filter input, type “authorize”, and click on the sign in button.
Tip
The OpenID Connect specification offers several functions, known as grant types, to obtain an access token in exchange for user credentials. This example uses the authorization code grant type. In this process, the app first requests a unique code from the authentication server, which can later be used to obtain an access token.
WSO2 Identity Platform will receive this authorization request and respond by redirecting the user to a login page to enter their credentials.
At this stage, you should have already created a test user in WSO2 Identity Platform, as outlined in the prerequisite section. Now can enter the username and password of the test user to the login screen.