Integrate WSO2 Identity Platform with your React Native App CLI
The following guide walks you through integrating WSO2 Identity Platform with your React Native mobile application using the React Native CLI. With WSO2 Identity Platform, your app can securely authorize and authenticate users via OAuth 2.0 and OpenID Connect.
This integration uses the react-native-app-auth library, a production-ready library that handles OAuth 2.0 and OpenID Connect for React Native applications and provides:
- Secure token management.
- Protected routes.
- Type-safe development with TypeScript.
Prerequisites
Make sure to install the required tools and set up your development environment:
-
Node.js v20+ installed in your local environment.
-
React Native development environment. Follow the guide to set it up for Android.
-
Android Studio with Android SDK.
-
Node.js v20+ installed in your local environment.
-
React Native development environment. Follow the guide to set it up for iOS.
-
Xcode 12.5 or newer.
Step 1: Set up your WSO2 Identity Platform environment
Before integrating WSO2 Identity Platform with your React Native app, set up the following in your WSO2 Identity Platform organization:
-
Register a mobile application - Your application must have app-specific credentials to interact with WSO2 Identity Platform. You can get these credentials by registering an application on the WSO2 Identity Platform Console. Follow the guide and register a mobile application in WSO2 Identity Platform.
-
Create a user - You also need a user in your WSO2 Identity Platform organization to log into your application. Follow the guide and onboard a user to your WSO2 Identity Platform organization.
Step 2: Create a React Native application
Use the React Native CLI and create a new React Native project:
Correctly name your React Native project
When creating a React Native app using the React Native CLI, make sure your project name contains only alphabetical characters (no numbers, hyphens, underscores, or any special characters).
- Valid ✔ : AsgardeoReactNativeApp, ReactNativeAuthApp (PascalCase recommended)
- Invalid ✖: reactnative-app-auth-cli, reactnative_app_auth, reactnative123
React Native CLI uses the project name as a module identifier in native code (Java/Kotlin for Android and Objective-C/Swift for iOS), which requires valid programming language identifiers that start with a letter.
Step 3: Install dependencies
Inside your React Native project directory, install the necessary libraries for authentication, secure storage, and navigation.
-
Install the npm packages:
npm install react-native-app-auth rn-secure-storage @react-navigation/native @react-navigation/native-stack react-native-screens react-native-safe-area-context bufferDetails on installed dependencies
Dependency Description react-native-app-auth A production-ready library that implements OAuth 2.0 and OpenID Connect authentication flows for React Native applications. It wraps the native AppAuth-iOS and AppAuth-Android SDKs to provide secure, standards-compliant authentication. rn-secure-storage Provides secure storage capabilities for sensitive data such as access tokens, ID tokens, and refresh tokens. It uses platform-specific secure storage features (iOS Keychain on iOS and EncryptedSharedPreferences on Android) to ensure safe storage of credentials on the device. @react-navigation/native A navigation library for React Native that enables seamless navigation between screens in your app. It supports gestures, animations, and extensive customization. Required to implement navigation in your mobile app. @react-navigation/native-stack Provides native stack navigation with smooth transitions and platform-specific animations. It uses native navigation primitives for optimal performance on both iOS and Android. react-native-screens Improves screen rendering performance by using native screen containers. Required for native stack navigation. react-native-safe-area-context Provides safe area insets information for handling device-specific screen layouts such as notches, rounded corners, and system UI elements. This ensures your app content displays correctly on all devices. buffer A Node.js Buffer implementation for React Native. Required for decoding Base64-encoded JWT tokens (ID tokens) to extract user information in the mobile environment. -
(iOS only) Install CocoaPods dependencies
Step 4: Configure deep linking
Deep linking allows your app to handle custom URLs, which is required for OAuth 2.0 flows. After a user completes authentication in the browser, WSO2 Identity Platform redirects them back to the app using a deep link (e.g. myapp://oauth2).
To ensure users are redirected correctly, configure deep linking for both Android and iOS platforms.
Open the android/app/build.gradle file and add the following inside the android block:
-
Open the
ios/AsgardeoReactNativeApp/Info.plistfile and add the following inside the<dict>tag to configure deep linking: -
After adding this, reinstall iOS pods:
Note
The myapp URL scheme must match what you configured in the WSO2 Identity Platform Console as the authorized redirect URL (e.g., myapp://oauth2).
Step 5: Create a configuration file
Your React Native app needs to know your WSO2 Identity Platform organization details to interact with it. Follow the steps below to create a configuration file in your React Native project.
-
Create the
src/config.tsfile to store configurations and add the following: (You will define the actual values as environment variables in the next step.)import { ASGARDEO_ISSUER, ASGARDEO_CLIENT_ID, ASGARDEO_REDIRECT_URL, ASGARDEO_POST_LOGOUT_REDIRECT_URL } from '@env'; export const config = { issuer: ASGARDEO_ISSUER, clientId: ASGARDEO_CLIENT_ID, redirectUrl: ASGARDEO_REDIRECT_URL, scopes: ['openid', 'profile'], postLogoutRedirectUrl: ASGARDEO_POST_LOGOUT_REDIRECT_URL, };- issuer - API endpoint that issues tokens upon request.
- clientId - The Client ID of your application.
- redirectUrl - After successful login, WSO2 Identity Platform redirects the user to the redirect URL of your app.
- scopes - Scopes needed for requesting user information. The
openidscope is mandatory to get the ID token. You can add other OIDC scopes such asprofileandemail. - postLogoutRedirectUrl - After logout, WSO2 Identity Platform redirects the user to the postLogoutRedirectUrl of your app.
-
Create a
.envfile in your project root and enter the actual details of your WSO2 Identity Platform environment:ASGARDEO_ISSUER=https://api.asgardeo.io/t/<organization-name>/oauth2/token ASGARDEO_CLIENT_ID=<clientID> ASGARDEO_REDIRECT_URL=myapp://oauth2 ASGARDEO_POST_LOGOUT_REDIRECT_URL=myapp://oauth2- Replace
<organization-name>with your WSO2 Identity Platform organization name and<clientID>with the Client ID of your registered application. - Replace the redirect URLs with the ones you configured in the WSO2 Identity Platform Console.
- Replace
Step 6: Develop the application
This section explains how to create the authentication context, login screen, and dashboard screen for your React Native app.
Step 6.1: Authentication context
To manage the user’s authentication state across your app, create a dedicated authentication context. This context provides a central place to track whether the user is logged in and to update the login state throughout the app.
To do so, create the src/contexts/UserContext.tsx file and add the following:
import { createContext, Dispatch, SetStateAction } from 'react';

export const UserContext = createContext<{
  isLoggedIn: boolean;
  setIsLoggedIn: Dispatch<SetStateAction<boolean>>;
}>({
  isLoggedIn: false,
  setIsLoggedIn: (_isSignedIn: SetStateAction<boolean>) => null,
});
Step 6.2: Login screen
The login screen allows users to authenticate with WSO2 Identity Platform using OAuth 2.0. This section shows how to start the authorization flow, handle the response securely, and update the app’s authentication state when the user successfully signs in.
To do so, create the src/views/HomeScreen.tsx file and add the following:
import React, { useContext, useState } from 'react';
import { View, Text, TouchableOpacity, Alert } from 'react-native';
import { authorize } from 'react-native-app-auth';
import RNSecureStorage from 'rn-secure-storage';
import { config } from '../config';
import { UserContext } from '../contexts/UserContext';

export const HomeScreen = () => {
  const { setIsLoggedIn } = useContext(UserContext);
  const [isLoading, setIsLoading] = useState(false);

  const signIn = async () => {
    try {
      setIsLoading(true);

      // Initiate OAuth 2.0 authorization flow
      const result = await authorize(config);

      // Securely store tokens
      await RNSecureStorage.setItem(
        'authorizeResponse',
        JSON.stringify(result),
        { accessible: 'AccessibleWhenUnlocked' }
      );

      setIsLoggedIn(true);
    } catch (error) {
      console.error('Authentication failed:', error);
      Alert.alert('Authentication Failed', 'Unable to sign in. Please try again.');
    } finally {
      setIsLoading(false);
    }
  };

  return (
    // Your return code
  );
};
Step 6.3: Dashboard screen
The dashboard screen displays user information retrieved from the authentication response. It also provides a way to securely log out, clearing stored tokens and ending the user session with WSO2 Identity Platform.
To do so, create the src/views/DashboardScreen.tsx file and add the following:
import React, { useContext, useEffect, useState } from 'react';
import { View, Text, TouchableOpacity, ScrollView, Alert } from 'react-native';
import { logout } from 'react-native-app-auth';
import RNSecureStorage from 'rn-secure-storage';
import { config } from '../config';
import { UserContext } from '../contexts/UserContext';
import { Buffer } from 'buffer';

export const DashboardScreen = () => {
  const { setIsLoggedIn } = useContext(UserContext);
  const [authResponse, setAuthResponse] = useState<any>(null);
  const [userInfo, setUserInfo] = useState<any>(null);

  useEffect(() => {
    // Retrieve stored authentication response
    RNSecureStorage.getItem('authorizeResponse')
      .then((res: any) => {
        if (res) {
          const response = JSON.parse(res);
          setAuthResponse(response);

          // Decode JWT ID token
          if (response?.idToken) {
            const base64Url = response.idToken.split('.')[1];
            const base64 = base64Url.replace(/-/g, '+').replace(/_/g, '/');
            const jsonPayload = Buffer.from(base64, 'base64').toString('utf-8');
            setUserInfo(JSON.parse(jsonPayload));
          }
        }
      })
      .catch((err: any) => console.error('Error retrieving auth response:', err));
  }, []);

  const signOut = async () => {
    if (!authResponse?.idToken) {
      setIsLoggedIn(false);
      return;
    }

    try {
      await logout(config, {
        idToken: authResponse.idToken,
        postLogoutRedirectUrl: config.postLogoutRedirectUrl,
      });

      await RNSecureStorage.removeItem('authorizeResponse');
      setIsLoggedIn(false);
    } catch (err) {
      console.error('Logout error:', err);
      Alert.alert('Logout Failed', 'Unable to sign out.');
    }
  };

  return (
    // Your return code
  );
};
Step 6.4: App component
The main App.tsx component sets up navigation between the login (Home) and dashboard screens based on the user’s authentication state. Using React Context and React Navigation, the app can dynamically switch screens when the user logs in or out.
To do so, update the App.tsx file as follows:
import React, { useState } from 'react';
import { NavigationContainer } from '@react-navigation/native';
import { createNativeStackNavigator } from '@react-navigation/native-stack';
import { UserContext } from './src/contexts/UserContext';
import { DashboardScreen } from './src/views/DashboardScreen';
import { HomeScreen } from './src/views/HomeScreen';

const Stack = createNativeStackNavigator();

function App() {
  const [isLoggedIn, setIsLoggedIn] = useState(false);

  return (
    <UserContext.Provider value={{ isLoggedIn, setIsLoggedIn }}>
      <NavigationContainer>
        <Stack.Navigator>
          {isLoggedIn ? (
            <Stack.Screen
              name="Dashboard"
              component={DashboardScreen}
              options={{ headerShown: false }}
            />
          ) : (
            <Stack.Screen
              name="Home"
              component={HomeScreen}
              options={{ headerShown: false }}
            />
          )}
        </Stack.Navigator>
      </NavigationContainer>
    </UserContext.Provider>
  );
}

export default App;
Step 7: Run the application
Now that you have developed the React Native app and integrated it with WSO2 Identity Platform, you can run it by following the steps below:
-
In React Native projects, the Metro Bundler compiles your JavaScript code and serves it to the app. It also watches for file changes and enables hot reloading during development. Start it with:
-
In a separate terminal, run the app:
Step 8: Try it out
Once the app is running on your device or emulator, follow the steps below to test the authentication flow:
-
Launch the app on your device or emulator.
-
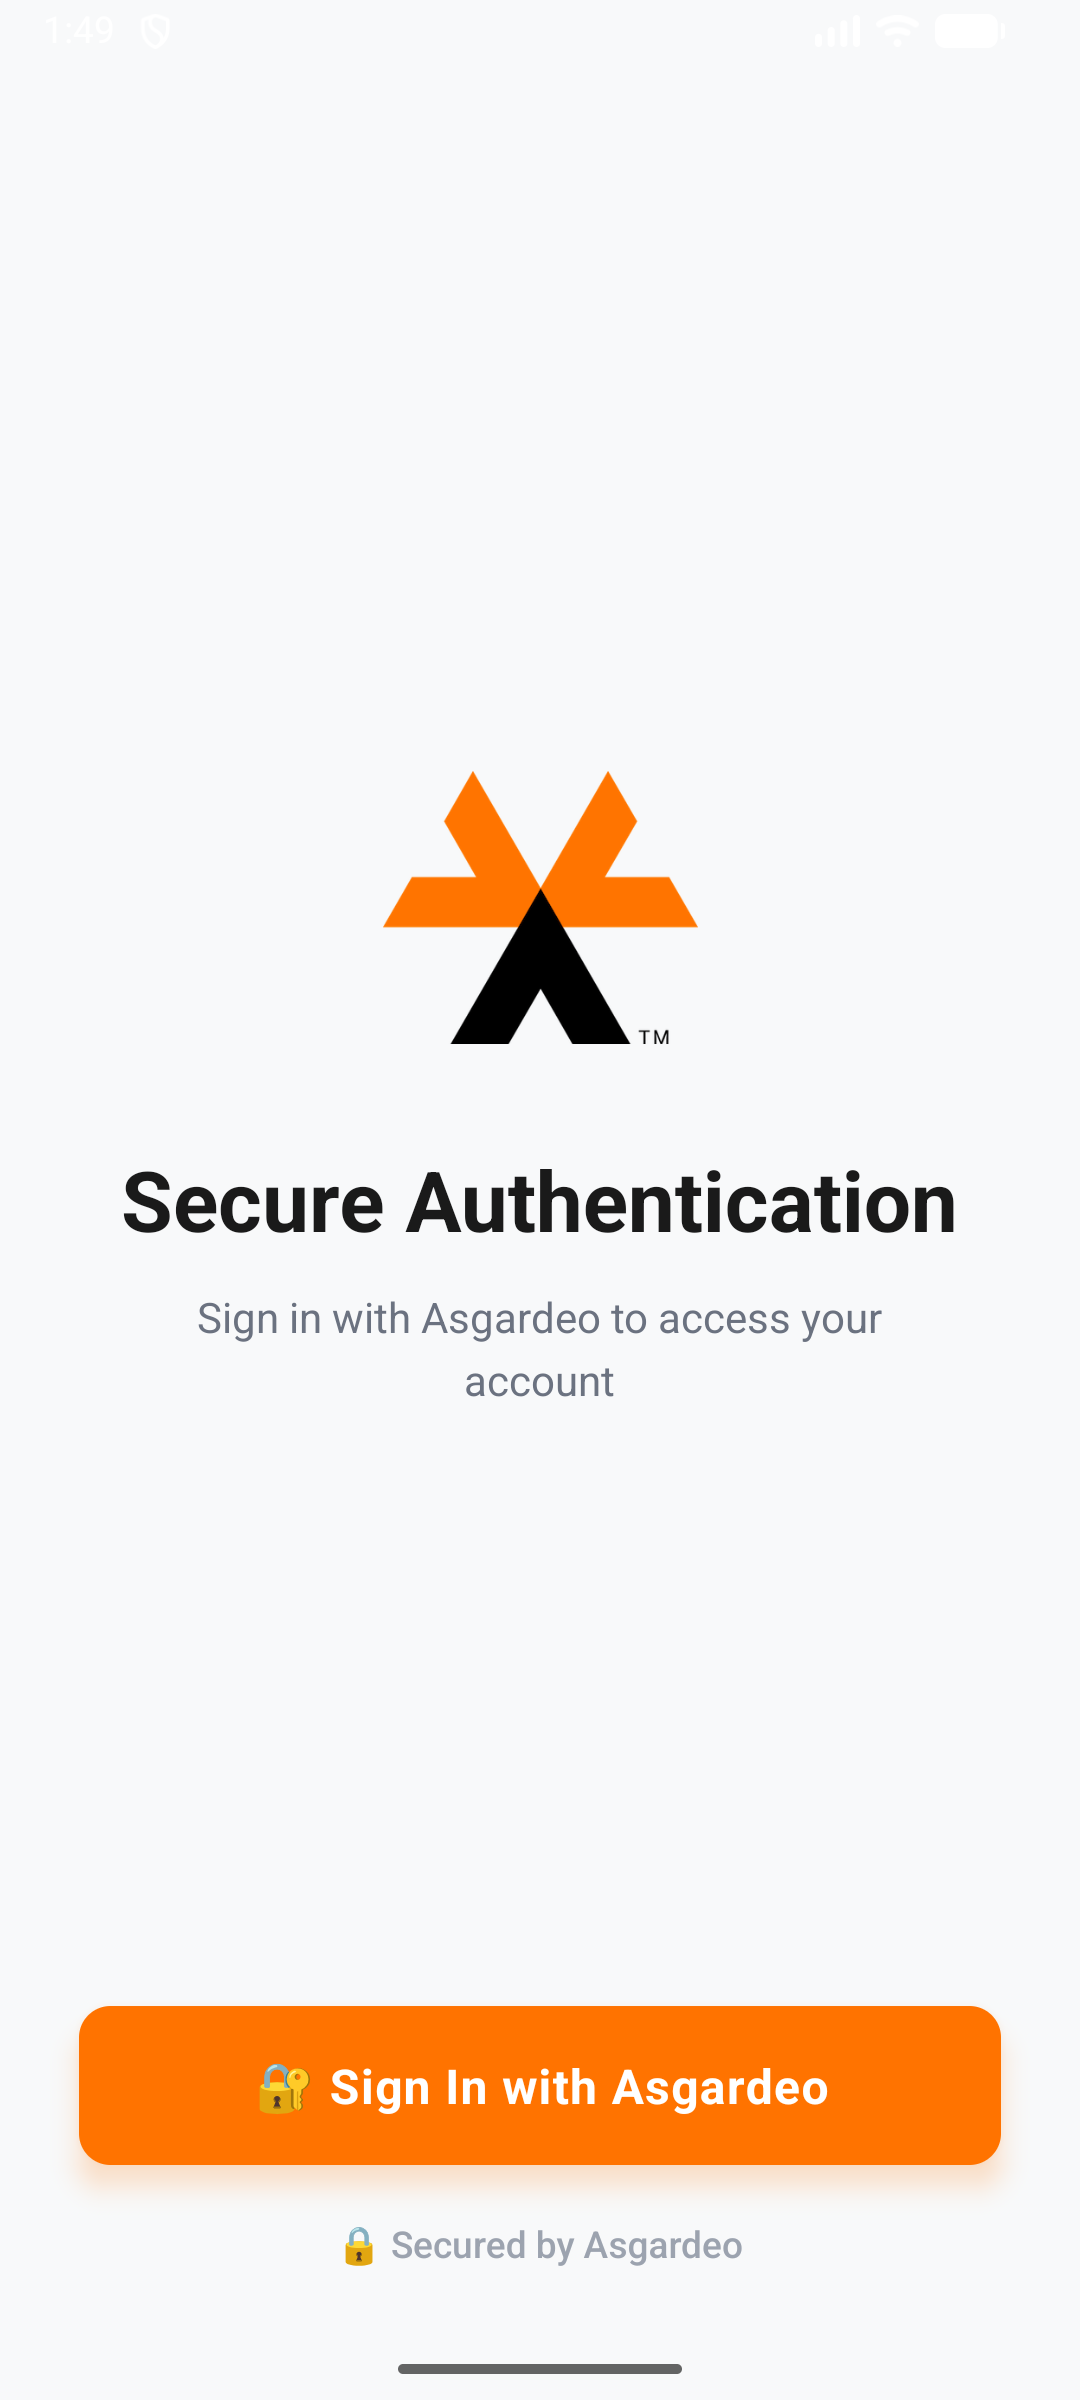
Tap the Sign In button.
-
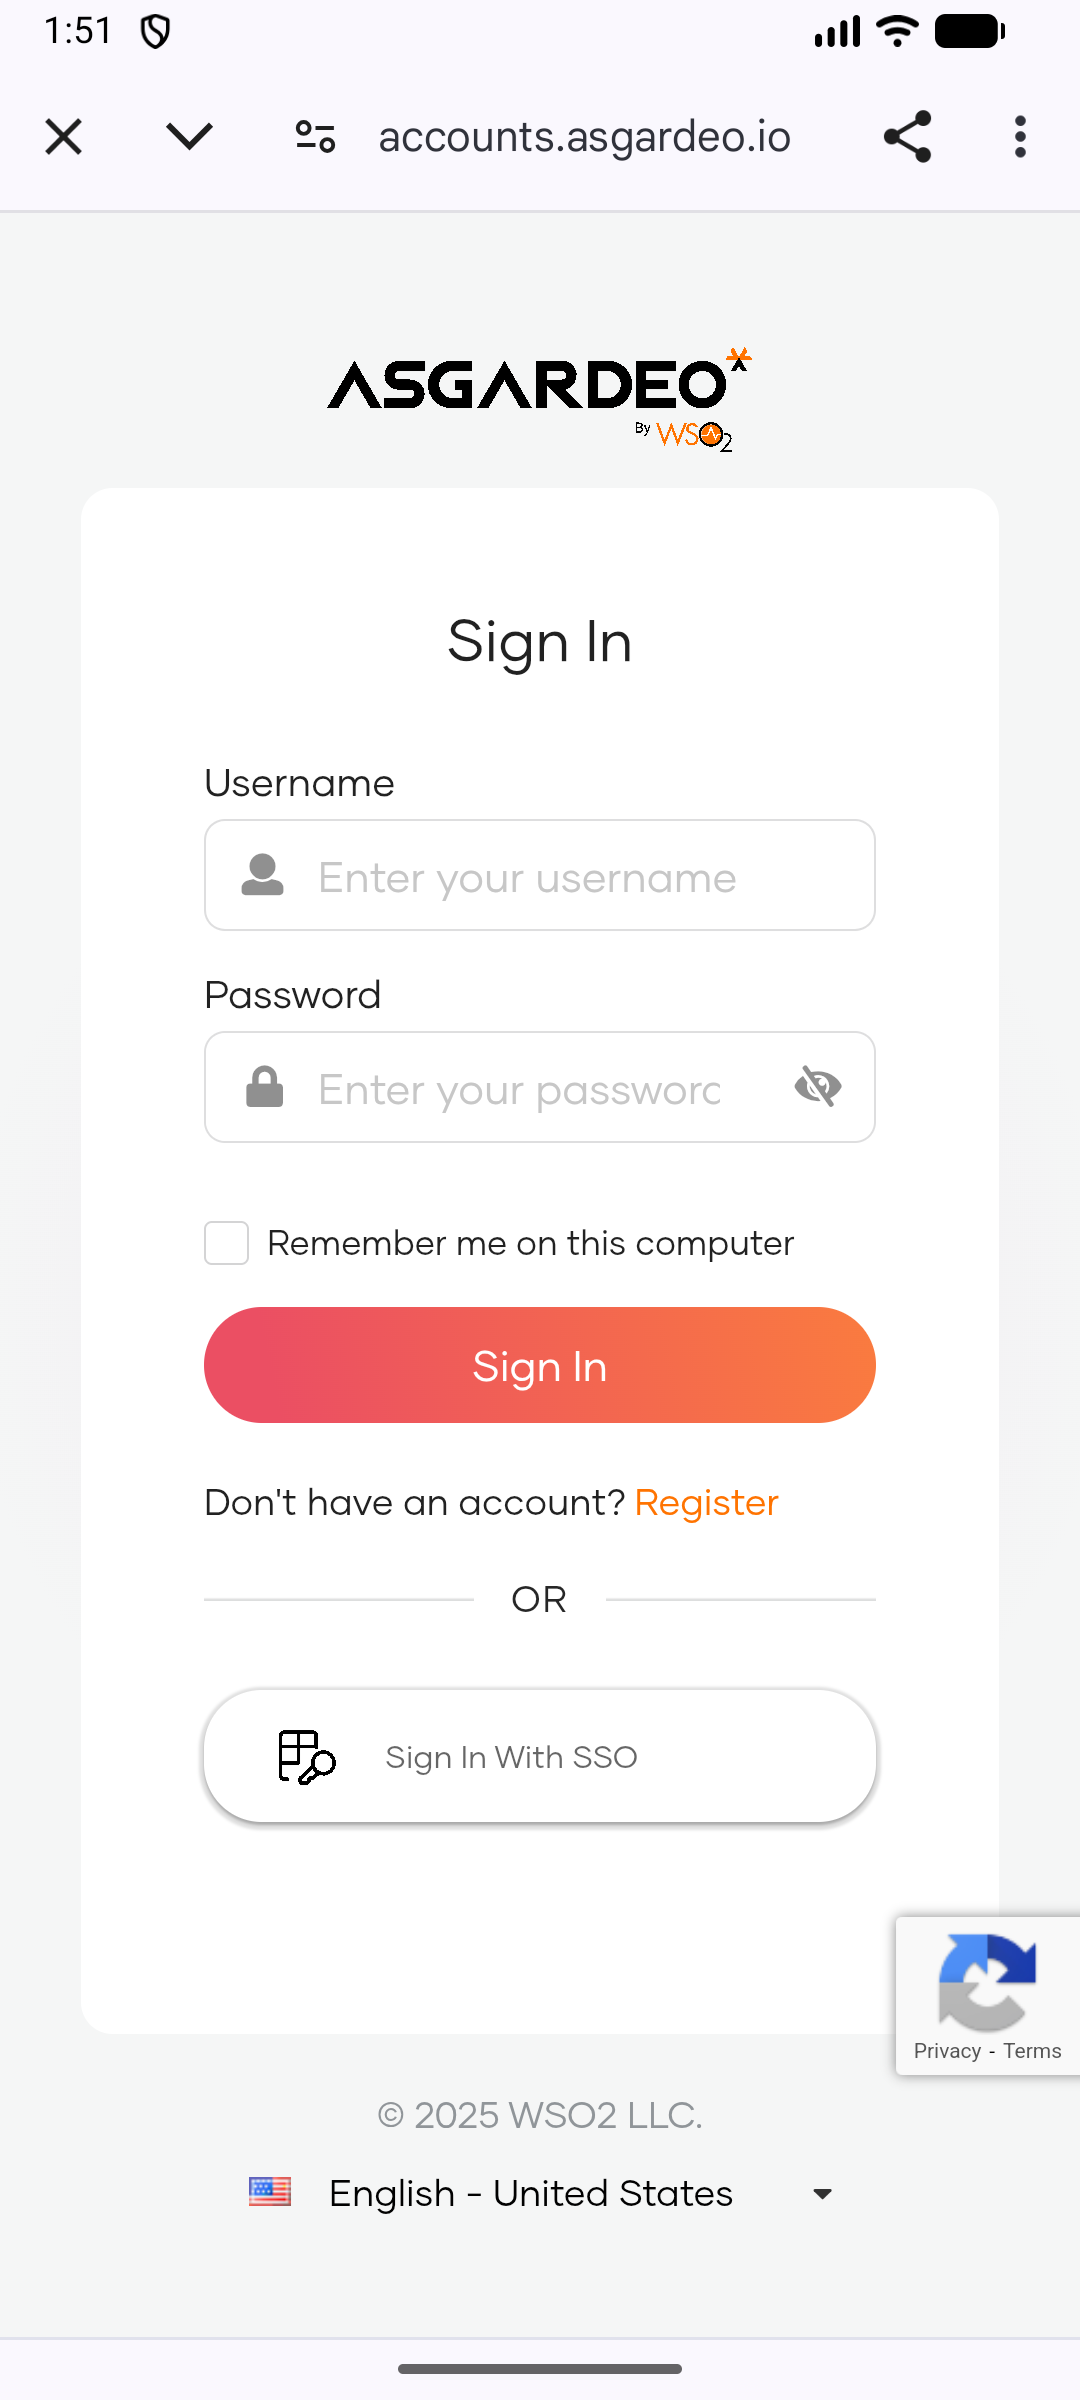
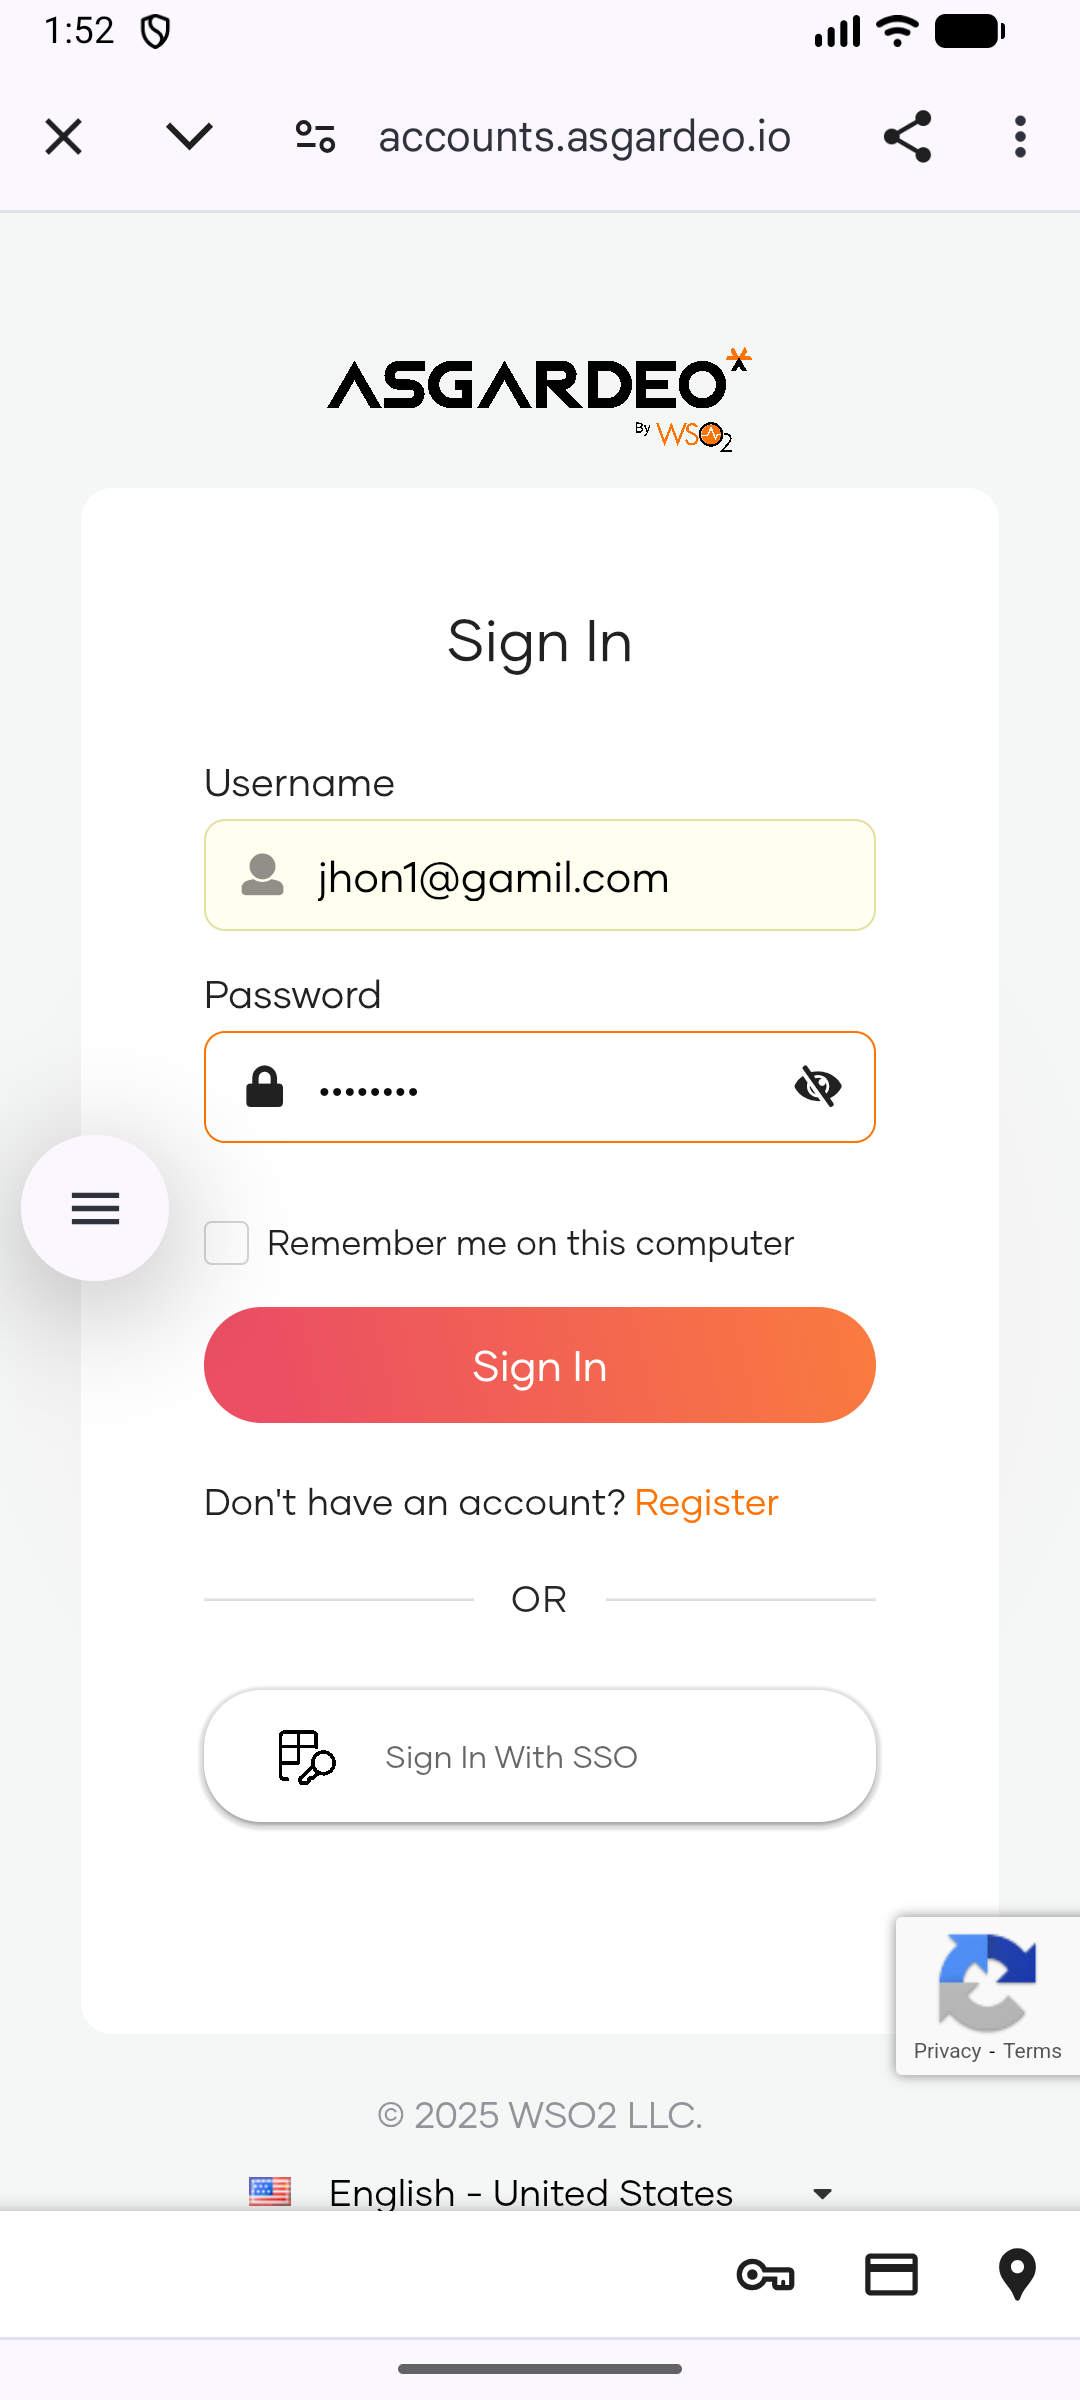
The device browser opens showing the WSO2 Identity Platform login page. Enter your credentials and sign in
-
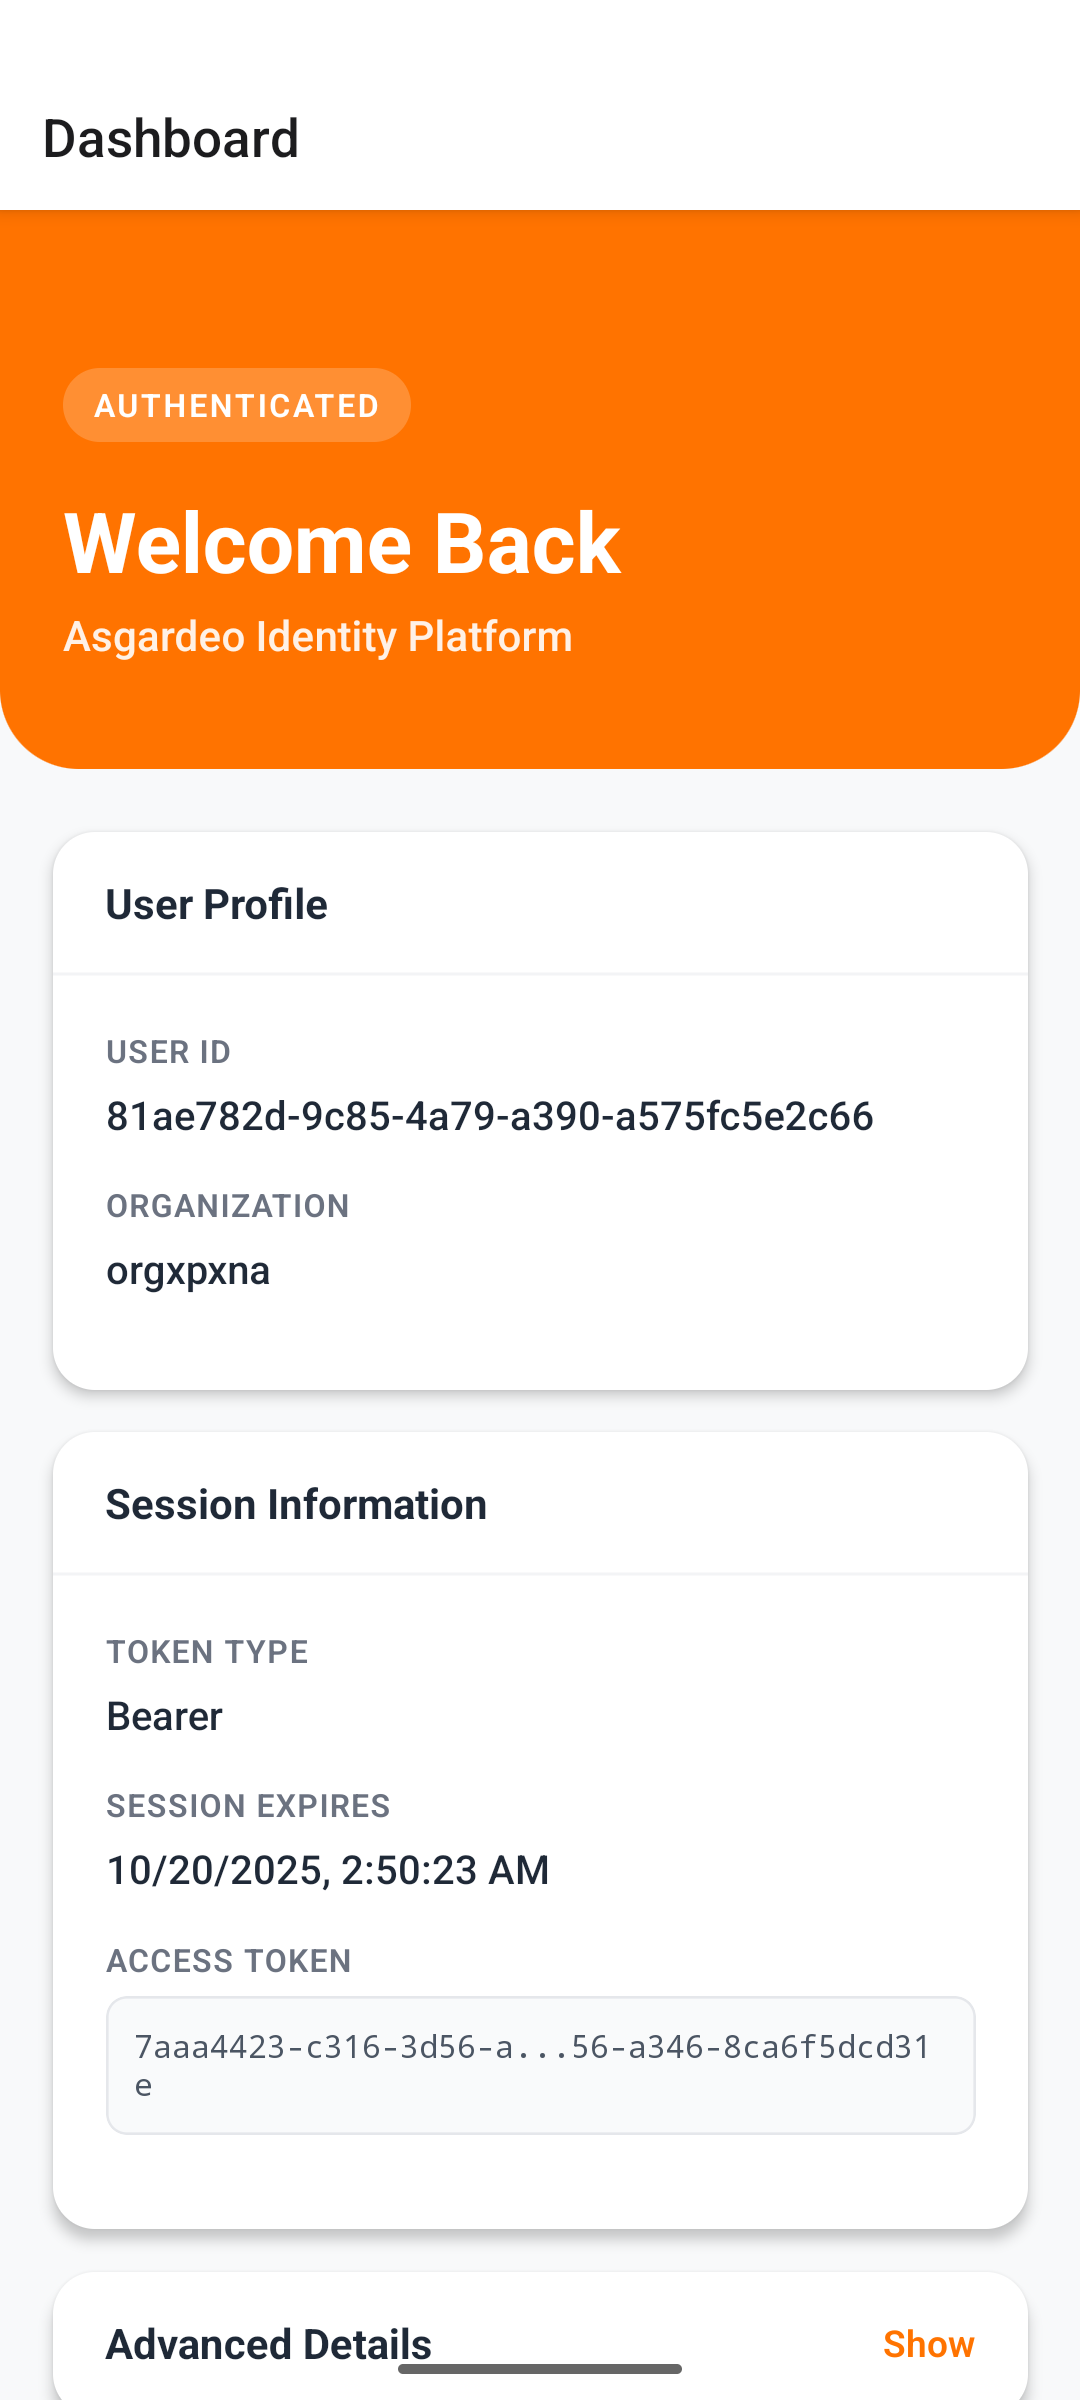
The app redirects to the dashboard showing your user information.
-
Tap Sign Out to return to the login screen.